
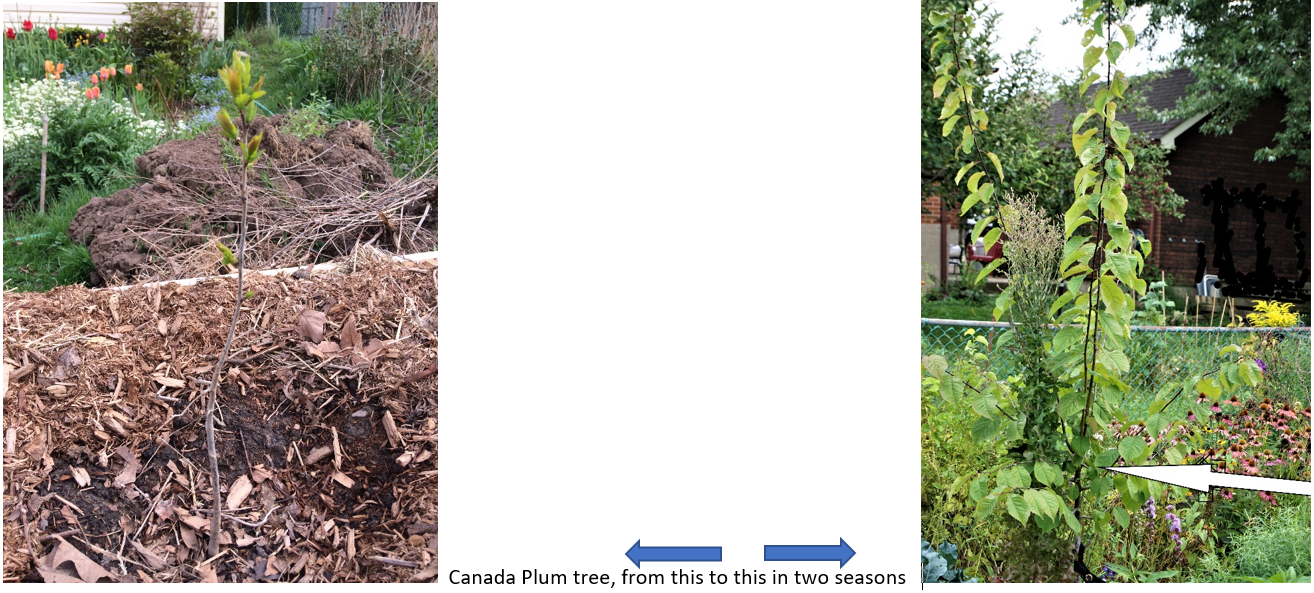
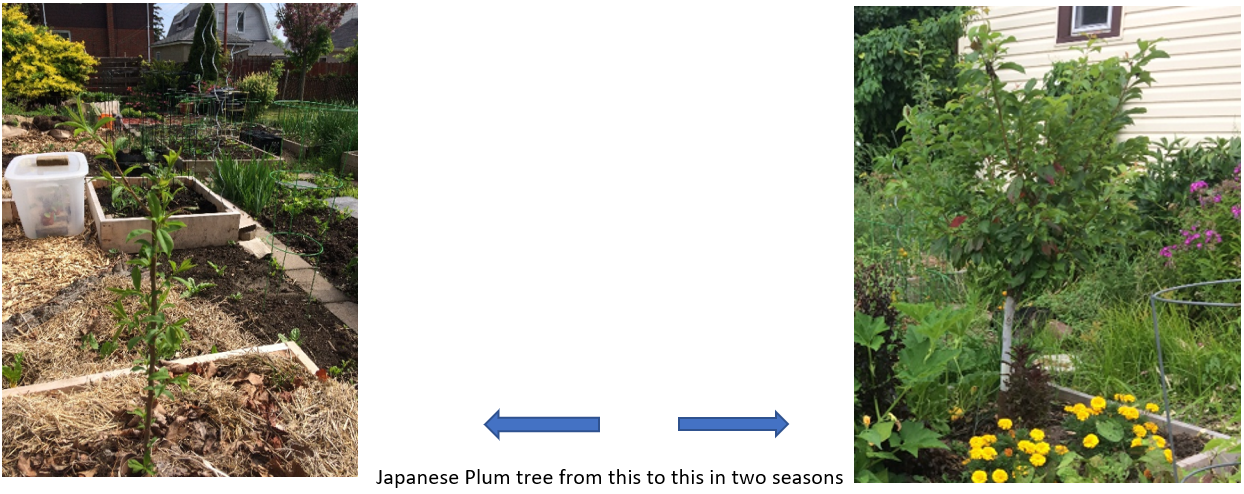
  The most exciting thing for me in my flash visits to the new food forest is seeing my fruit trees, “my babies” perform. I noticed their vigorous growth, those bare-root whips I had planted only a bit over a year ago and were growing like tall broom sticks, I then so thoughtfully and carefully pruned, and just as I planned, they responded splendidly and gained the well-balanced tree shapes that I desired. Some will require another pruning cut or two come early spring, but it is clear that they are no longer whips but young trees full of vigour. I am a proud mama. When I got my Canada plum tree (Prunus nigra) it looked like a crooked pencil (see picture above). My Japanese Plum (Prunus salicina x Prunus americana) was straighter but still a thin pencil, same as my apricot tree.  Why do I choose to plant such young bare root whips? Because I am convinced that the tree will grow a more vigorous, deeper tap root than if it were root pruned to fit a pot. Roots will continue to grow in the direction they started, which in a pot is a circular direction. This is likely to girdle the roots and prevent them from finding their way deep into the soil. Preventing water and nutrient uptake. How did I get them started? While awaiting patiently for my tree order to arrive in the mail I prepare a couple of supplies:
 1. I first prepared the site in advance. Because my yard is on a slope and my property is lower than my neighbors', there is too much water accumulation occurring in our wet spring season. The water saturation causes the soil to become very compact and prevents oxygen from reaching the roots, therefore I created a wooden box frame of 4x4’ and filled it with locally made triple mix. It is made of local natural leaf compost, peat moss and topsoil. I buy it from the nearest landscape supplier up the road from my house. In this raised box I plant a tree. This keeps them elevated above any excess moisture that might occur. 2. Very importantly I use no soil amendments and absolutely no fertilizers, choosing to start these trees on a lean diet. Why native lean soil? To force the trees roots to search deeper for nutrients by sending their roots farther away. If all the nutrients are placed close to the tree trunk there is no incentive for the roots to grow any farther. That’s where they will stay. When dry periods come there will be much less water available to uptake and when winds blow through dense new leaves, there will be no strong anchor for the tree. Root development is always first priority with any plant. Especially trees. They will have plenty of future to leaf out and grow shoots but they will never get there without a healthy and well-developed root system. 3. I Created a fungal environment. I distributed mycorrhizal fungi spores on the bare roots right before placing them in the planting hole. I distributed a little more around the planting hole. They will germinate and grow a mycelium mat of white hyphae (non fruiting, underground mushroom bodies) and will quickly colonize the roots providing protection from pathogens. With the Mycelium’s wide-reaching hyphae (strands) it will allow the roots to reach and draw more nutrients from the soil therefore providing more nutrition and faster root and shoot development. Why will this white mycelium be eager to colonize the roots? It feeds off of the starches created by the trees photosynthesis because it has no ability to create photosynthesis of its own. Remember mushrooms and their underground bodies (strands) lack green pigmentation because they have no chlorophyll which uses light and water to make nourishment for itself. Since they cannot process nutrients to make their own sugars, they suck it out of the tree, but they provide the tree with way more nutrients than they take. They are a very humble, helpful and reliable friend to trees. 4. I made sure the graft union remains 2-3 inches above soil level and I also made sure it faces to the north to avoid possibility of sun scorch damaging the graft. I tapped the soil backfill down to prevent air pockets. 5. I Protected and anchored the tree. #1 threat – rabbits and rodents. I placed either a white plastic sleeve or a ring of chicken wire fencing around the tree, or both. I don’t believe there can be too much protection for the trunk of a tree. This is a seriously important step. The white plastic will also reflect back the sun rays and prevent sun scorching. 6. I mulched. I used what I had on hand. Dried leaves left from last fall, straw, wood chips and freshly cut comfrey leaves. I planted comfrey around trees specially for the purpose of harvesting their leaves for mulching around trees. Comfreys' exceptionally long taproots draw minerals and nutrients that other herbaceous plants cannot reach. These nutrients break down into the topsoil surrounding the tree roots. Until they break down, they will keep moisture in the soil, regulate temperature, prevent weeds from germinating and allow the microorganisms that live in the soil to thrive. The microbes will break down organic matter, digest the mulch and improve soil structure. They make nutrients available to the trees as well as improve the oxygen levels in the root zone. 7. Prune Prune Prune! I use disinfected, sharp, good quality secateurs. I always prune second year trees right after planting. Why? Pruning at this stage will prevent any waste of time and growth energy by allowing it to develop a desired structure early on. Pruning will also stimulate growth. First year whips need to grow higher before pruning so I leave them until I can prune to about 3 feet. If you want a taller trunk you should prune higher. Not all trees will be pruned in the same way. I kept two things in mind: the height from which I wanted the trunk to start branching out and whether I wanted the tree to grow with an open center or have a dominant, center branch. I am rather short and don’t feel that struggling to reach high into a canopy to pick fruit will be fun for me so I chose a fairly low branching point. The shape intended depended on the type of tree. For example, my apple trees I generally allowed to create a center dominant upright branch. For the stone fruiting trees such as plum and apricot I chose an open centre form. I observed and interacted to correct pruning in the upcoming stages in order to achieve the branching I wanted.  Is pruning a bit scary in the beginning? It’s a little like having your baby circumcised, you can be a bit nervous except this does not hurt the tree. Pruning will make it strong and vigorous. The more you do it the more comfortable you’ll get. Look at the photo above. The white arrow points to the pruning cut that I made last summer. I wanted the tree to branch out about 3 feet above ground so I first allowed the whip I planted to grow straight up. I actually never took a photo of this stage because It looked ridiculous. Then I pruned the top off to a three feet tall young tree. New buds developed only the next spring and shot up amazing 5 feet long branches. That is a lot of growth for one year! The Japanese plum trees' branches grew too fast and became heavy before their tissue became woody and strong. Branches started breaking off from the weight of the leaves so we shortened the branches from their 4 feet length to two feet. The breakage thinned out some branches but still maintained a great vase shaped form and continued growing more moderately. 8. I Planted diverse companions; catmint and wildflowers to draw pollinators, comfrey to draw deep laying minerals upward to the topsoil. It will accumulate nutrients and be used as green mulch. I planted ground covers such as strawberry and clover to keep weeds away, moisture in ground and food for us, and nitrogen fixing plants such as clover, lupine and seabuckthorn shrubs. Conclusion remarks: All in all, I don’t regret anything I have done. The trees seem very happy. I see lots of mushrooms growing on the wood chips that I layers all over the garden’s soil. This indicates that the soil is fungi dominated rather than bacteria dominated and this is very healthy for the trees and shrubs.
If you have any questions or experiences you would be willing to share please write them in the comments. Your input will be most appreciated as it will enrich our gardener’s communal experience and interaction. My hope is that you have and will have happy planting and growing too, with abundant yields. Yours truly, Sharona
0 Comments
In the forest garden, things started happening right from the start, rewarding all our senses. White clover popped up through the wood chips, a remnant from the old lawn that was once in our back yard. I was happy to see it and even happier to see it spread into a stepable, hardy mat. No other weeds grow in it and I see bees enjoying its nectar even as late as November. It is and will continue to transmit atmospheric nitrogen into the soil which nourishes my fruit trees. I plan to spread it around other trees. During my flash visits in the garden I would nourish on asparagus, lettuce, purslane and daylily flowers, I would taste-test various berries all growing on their own without any of my help. Not all crops succeeded but there was enough variety to allow me plenty to enjoy. While my forest garden develops there is still plenty of abundance. In the months of May and June we enjoyed an almost daily harvest of beyond organic, freshly cut baby kale and baby spinach from these two 4x4' raised beds tucked in the back corner of my food forest. While the fruit trees are still too young to bare fruit, I enjoy the fastest fruiting plants – the berries! I tasted plump, blushing gooseberries for the first time and found them to be surprisingly delicious. The exceptionally rainy season produced the largest and sweetest blueberries I had ever harvested and the ever- expanding carpet of everbearing strawberries produced juicy, sweet strawberries. Some developed botrytis (grey mold) due to the constant moisture but enough were left untouched and a few litres are still stored in the freezer. Black raspberries, I had heard about them and finally got the chance to taste their sweet and pleasing taste. Trying different cultivars, I grow red, yellow and black raspberries, Red, white and black currants, five varieties of blueberries, honeyberries, gooseberries and three varieties of strawberries. One variety I planted among a perennial garden some years ago and it has finally spread and produced abundant fruit. One other berry is the mother of all herbal medicines and superfoods – seabuckthorn. Going into it’s 3rd year I am expecting its first Orangy-golden crop by next summer. 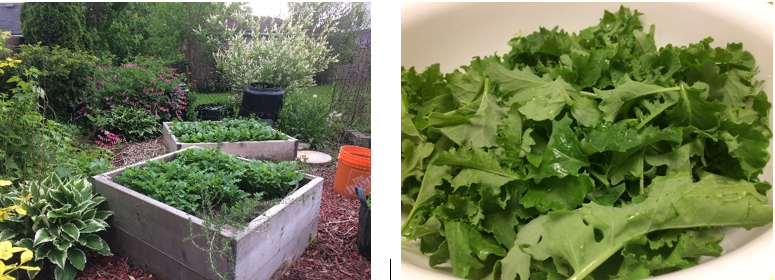 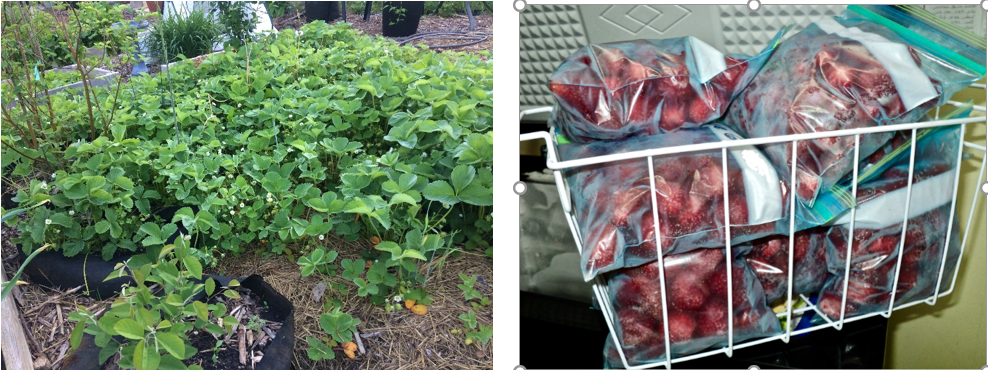 Even serviceberries were abundant and they were also stored in the freezer. I decided to save them for something special and that occasion did come to my excitement. I will tell you about that later. I quickly cut off all the garlic scapes, they are the flower stem of the garlic plant and made them into pesto and froze it in many small portions. Removing the scapes sends more energy into the bulb for its development. Soon after, I quickly harvested five baskets full of garlic heads! They will last us until next harvest and beyond. I make a new Caesar salad dressing with creamed almonds and roasted garlic that is better than any Caesar sauce I had ever tasted. Now we can roast garlic as much as we want. Also, basil was abundant, especially the ones grown in containers and pesto was quickly ground and frozen for latter use. As a full-time student, I need quick, accessible and satisfying food. The pesto spreads are tasty and nutritious and I enjoy them on and with everything I eat. 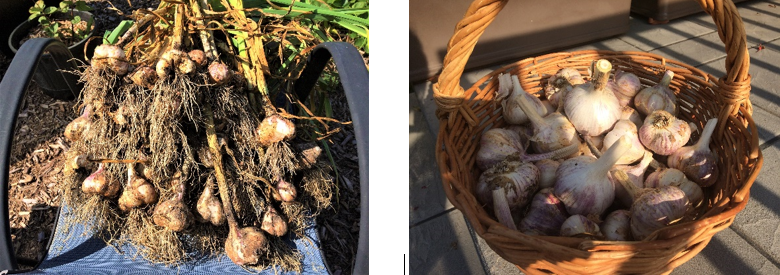 Oh, I promised to tell you about the serviceberries: I made a 100 % traditional indigenous meal together with my friend Laura Schultz to share with co-students and with our amazing teacher Teri Sherwood. It gave me the golden opportunity to use my stored serviceberries. We chose to make a pudding to go alongside a wild rice salad. T’was a-mazing! And super easy to make. Serviceberry, Amelanchier canadensis is my #1 best recommended small tree to plant in the urban garden. Here is the recipe for the saskatoon (serviceberry) pudding, it is taken from the Dietitians of Canada website: Saskatoon Berry Pudding 2 cups serviceberries (AKA saskatoon berries) ½ cup maple syrup 1 ½ cups water plus ½ cup water ½ cup corn flour or any other flour (corn flour is authentic to indigenous cultures in our area.) Combine berries, 1 ½ cup water and maple syrup in a medium size pot and bring to a boil. Lower heat and simmer for about 15-20 minutes. Place the flour inside a small bowl and add ½ cup water. Mix well. Add the flour mixture to the berries and cook on low heat stirring it well for about 10 minutes or until thickened. Move to a glass jar and let cool.  With loving harvests,
Sharona References: Canadian Home Economics Foundation, Aboriginal Nutrition Network, Dietitians of Canada. (2016). Notes From The Dietitian. Retrieved from: https://www.dietitians.ca/Downloads/Public/08---Recipes/10-Saskatoon-Pudding.aspx |
Sharona GorenAvid gardener. Experimenter. Striver. Nature lover. Seeker. Archives
December 2022
Categories |
 RSS Feed